Alan Lenk
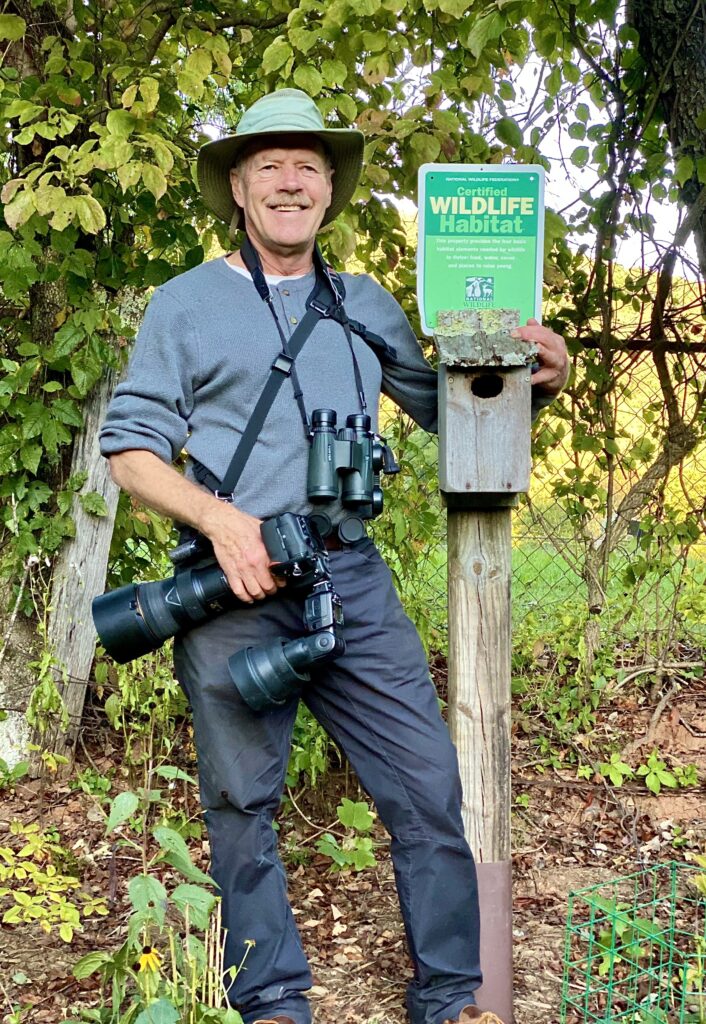
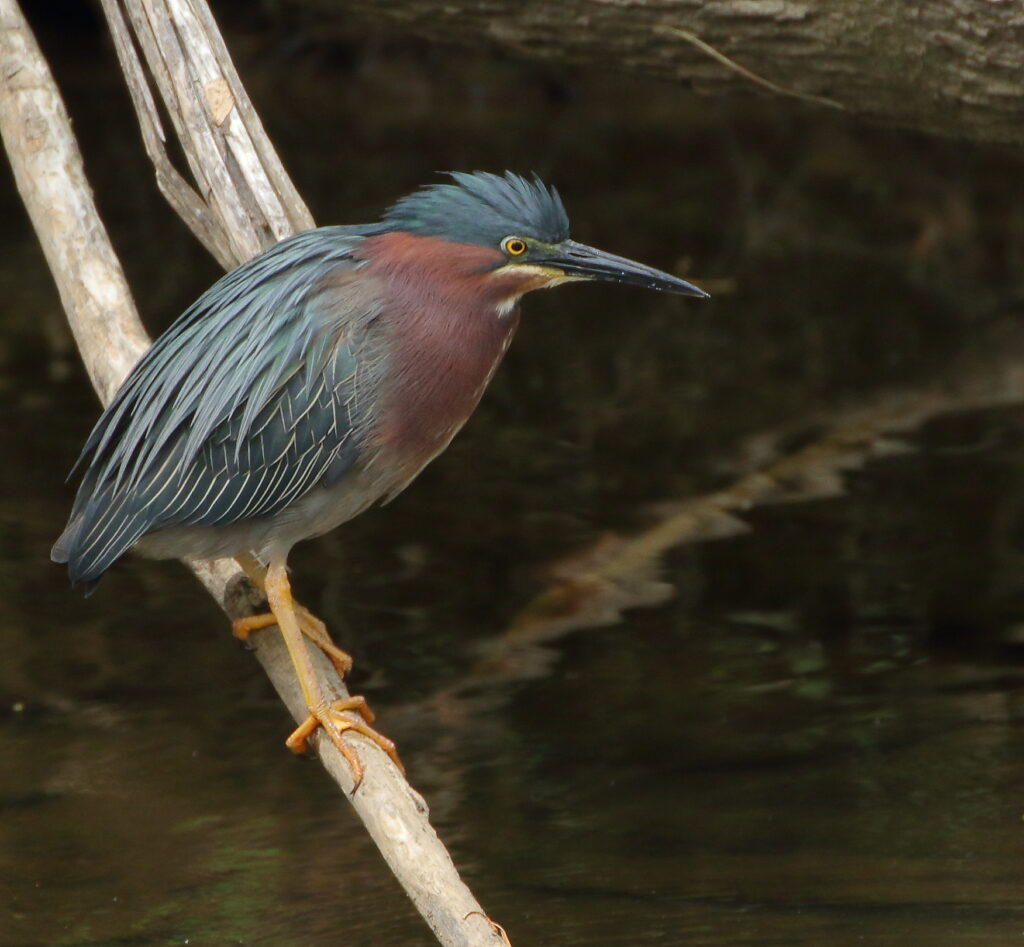
I began taking photos in my early teens. Photography was a hobby of my Dad’s and he no doubt sparked my interest. Unlike my father, who photographed mainly family and friends, my photo interests were broader. My passion was the natural world: plants, animals, and the earth’s natural features. Bird photography itself came much later and might just be my favorite subject. I became fascinated with a clean image of bird, its ability to reveal minute details of color, feather detail, and behavior. In essence the overall beauty and secret life of the creature came to light with photography. I was hooked on birds and trying to capture their magic through photography. I especially enjoy shooting the warblers.

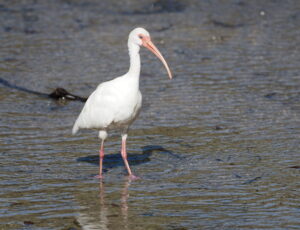
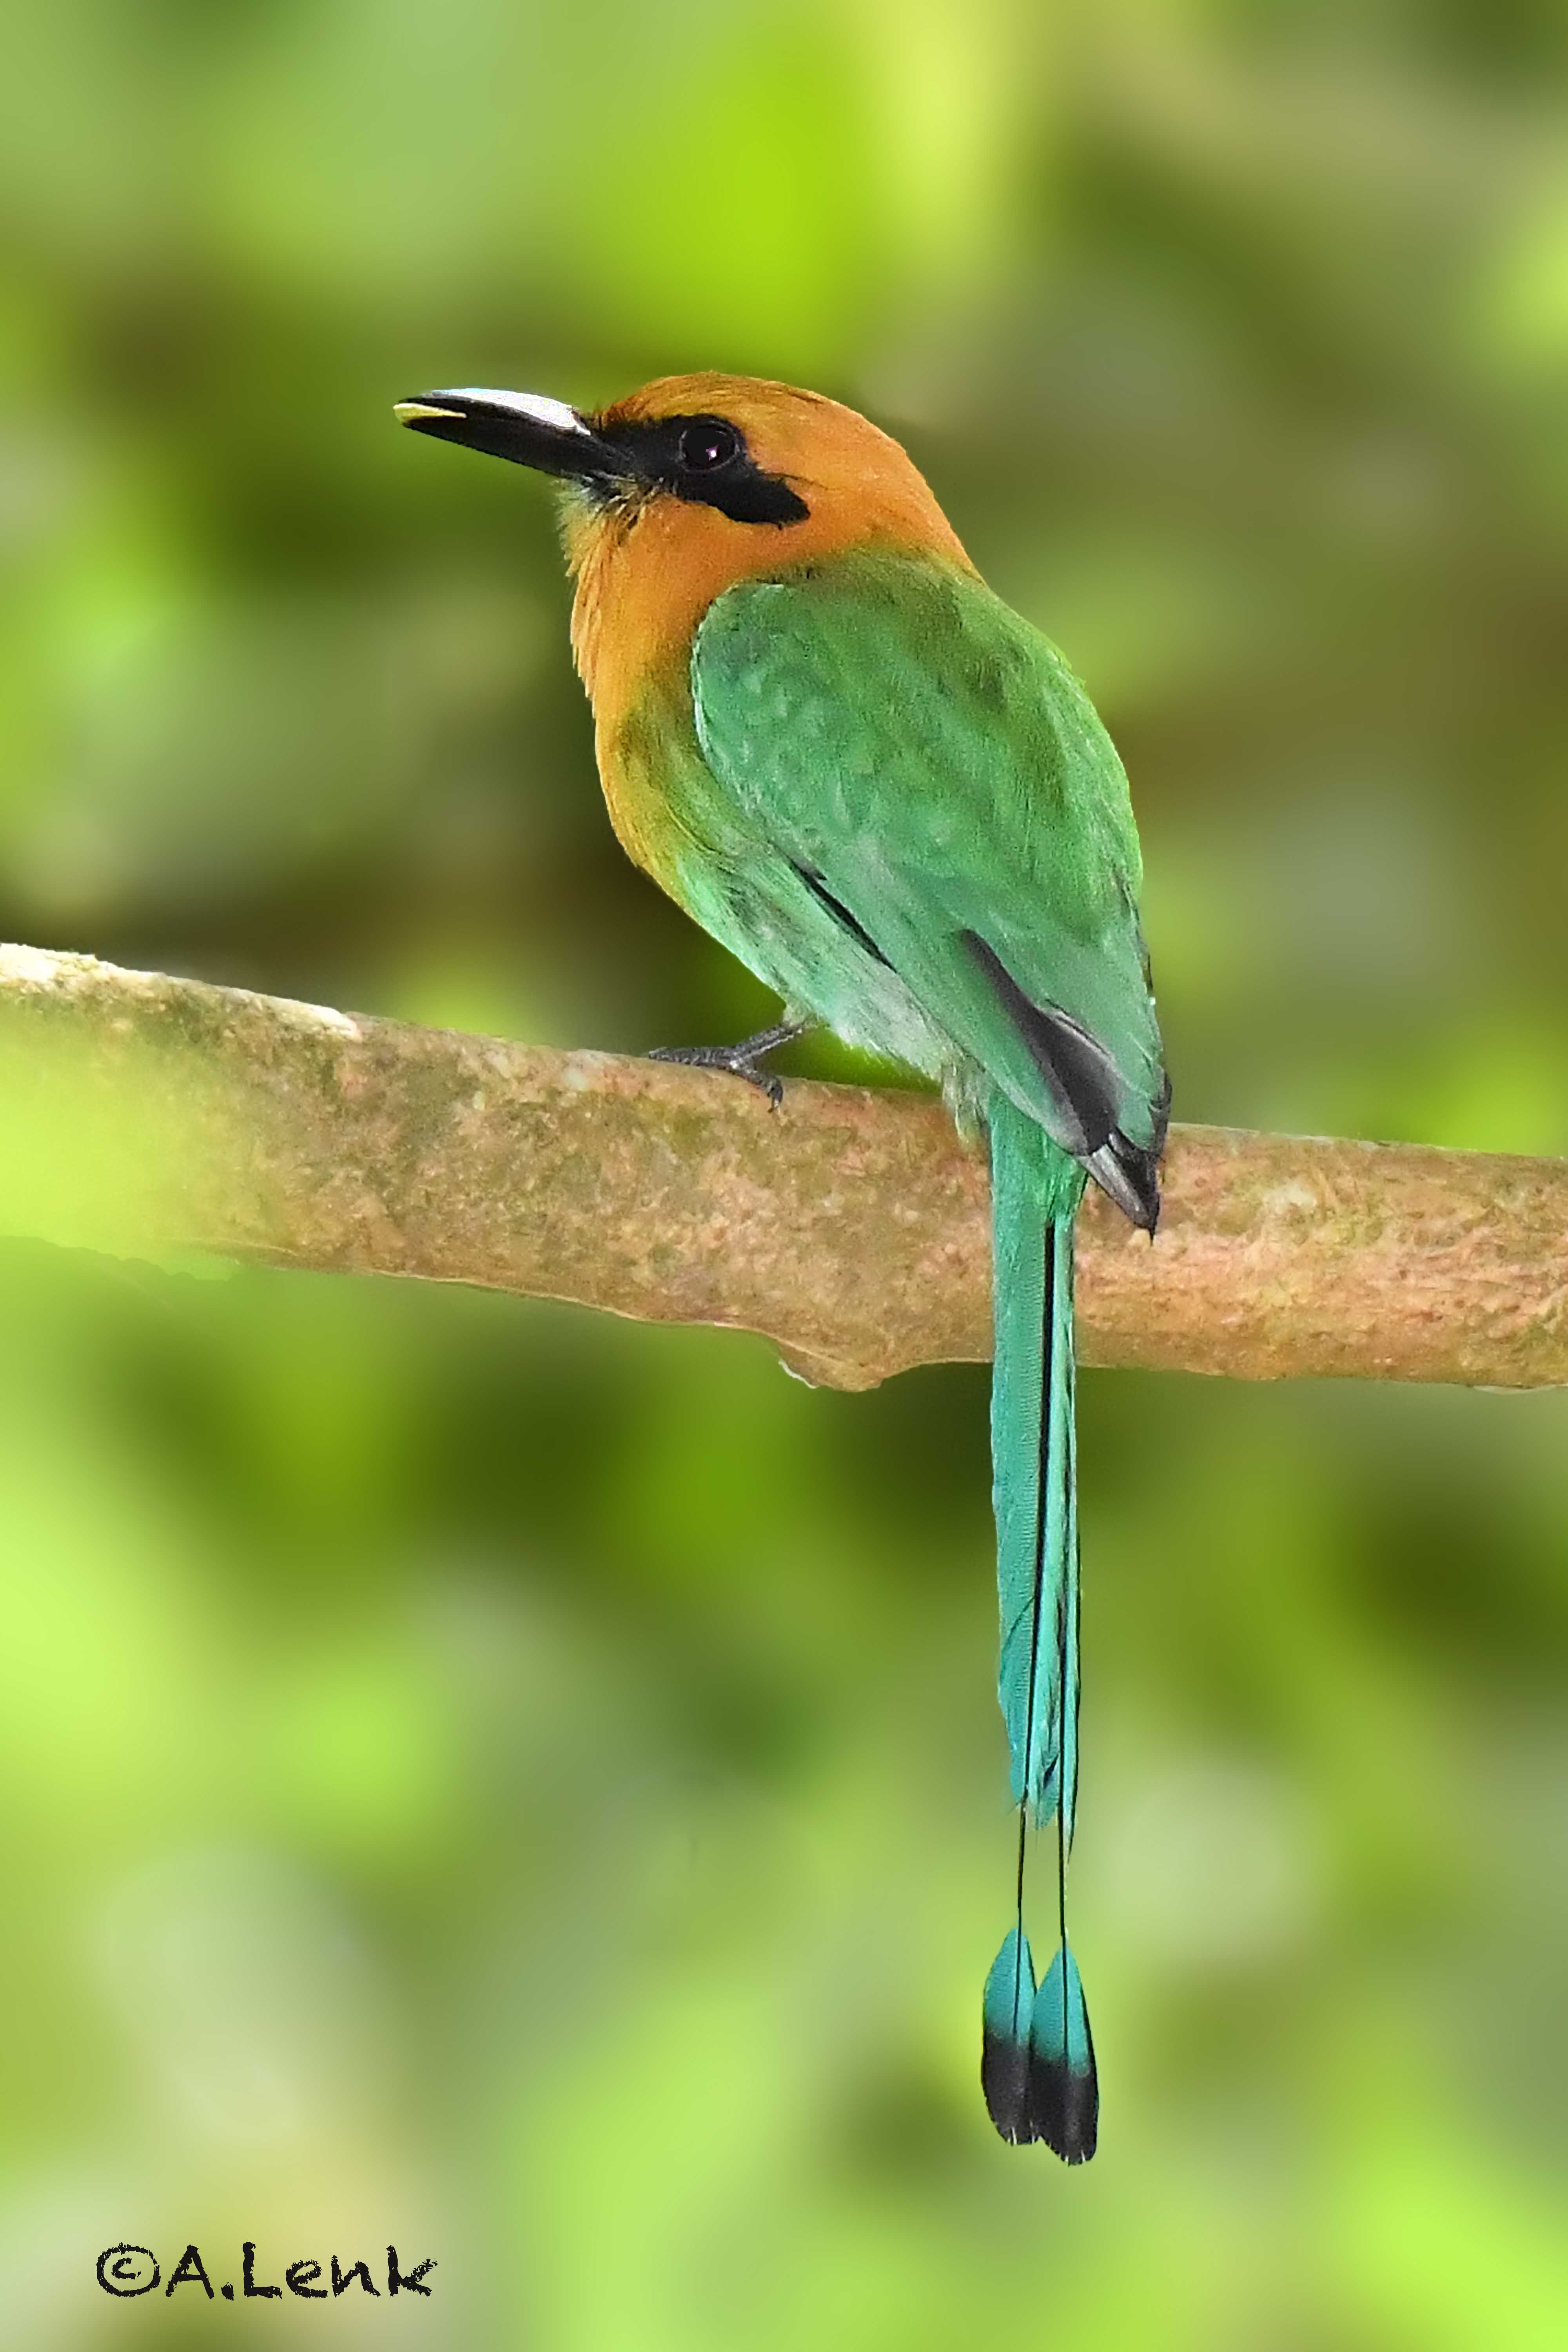
Nikon D500, 600mm, f/7.1, 1/3200 sec., ISO 3000
A few words about equipment and settings: For bird photography I am currently using the Nikon D500 SLR, coupled with AF-S Nikkor 500mm f/5.6E PF lens and a TC 1.4. This combination of camera, lens, and TC(teleconverter) provides about 1200mm of reach when crop factors are activated in the camera. The PF in the lens name signifies Fresnel Lens that considerably shortens and lightens the prime lens. The relative light weight allows one to hand hold the lens providing maximum maneuverability to follow and track birds. Relatively high shutter speeds are used when hand holding to ensure a sharp photo, at least 1/2000 of a second. Shutter speed and aperture are set manually and the ISO value is set to auto and “floats” to adjust to changing light conditions. An additional piece of equipment that I use is a flash unit on top of the camera. This is set to a low flash output and provides fill flash on the bird in low light conditions. Additional light on the bird evens out the light, and increases “hidden” color and makes feather texture and detail more apparent. Incidentally, I plan to update to a mirrorless camera in due time. I’m just waiting on the right combinations of features I’m looking for and reading the reviews.
Tips for better bird photos: I don’t claim to know what is best for all photographers. Everyone has their own style and preferences. The following tips have worked pretty well for me:
• Take lots and lots of pictures. The keeper rate for bird photos is low, especially for the small erratic guys. The more photos taken the better the chance of getting a few good ones. If you can get 3 good shots out of a 100 attempted you are doing well.
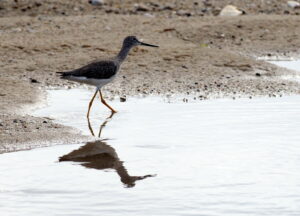
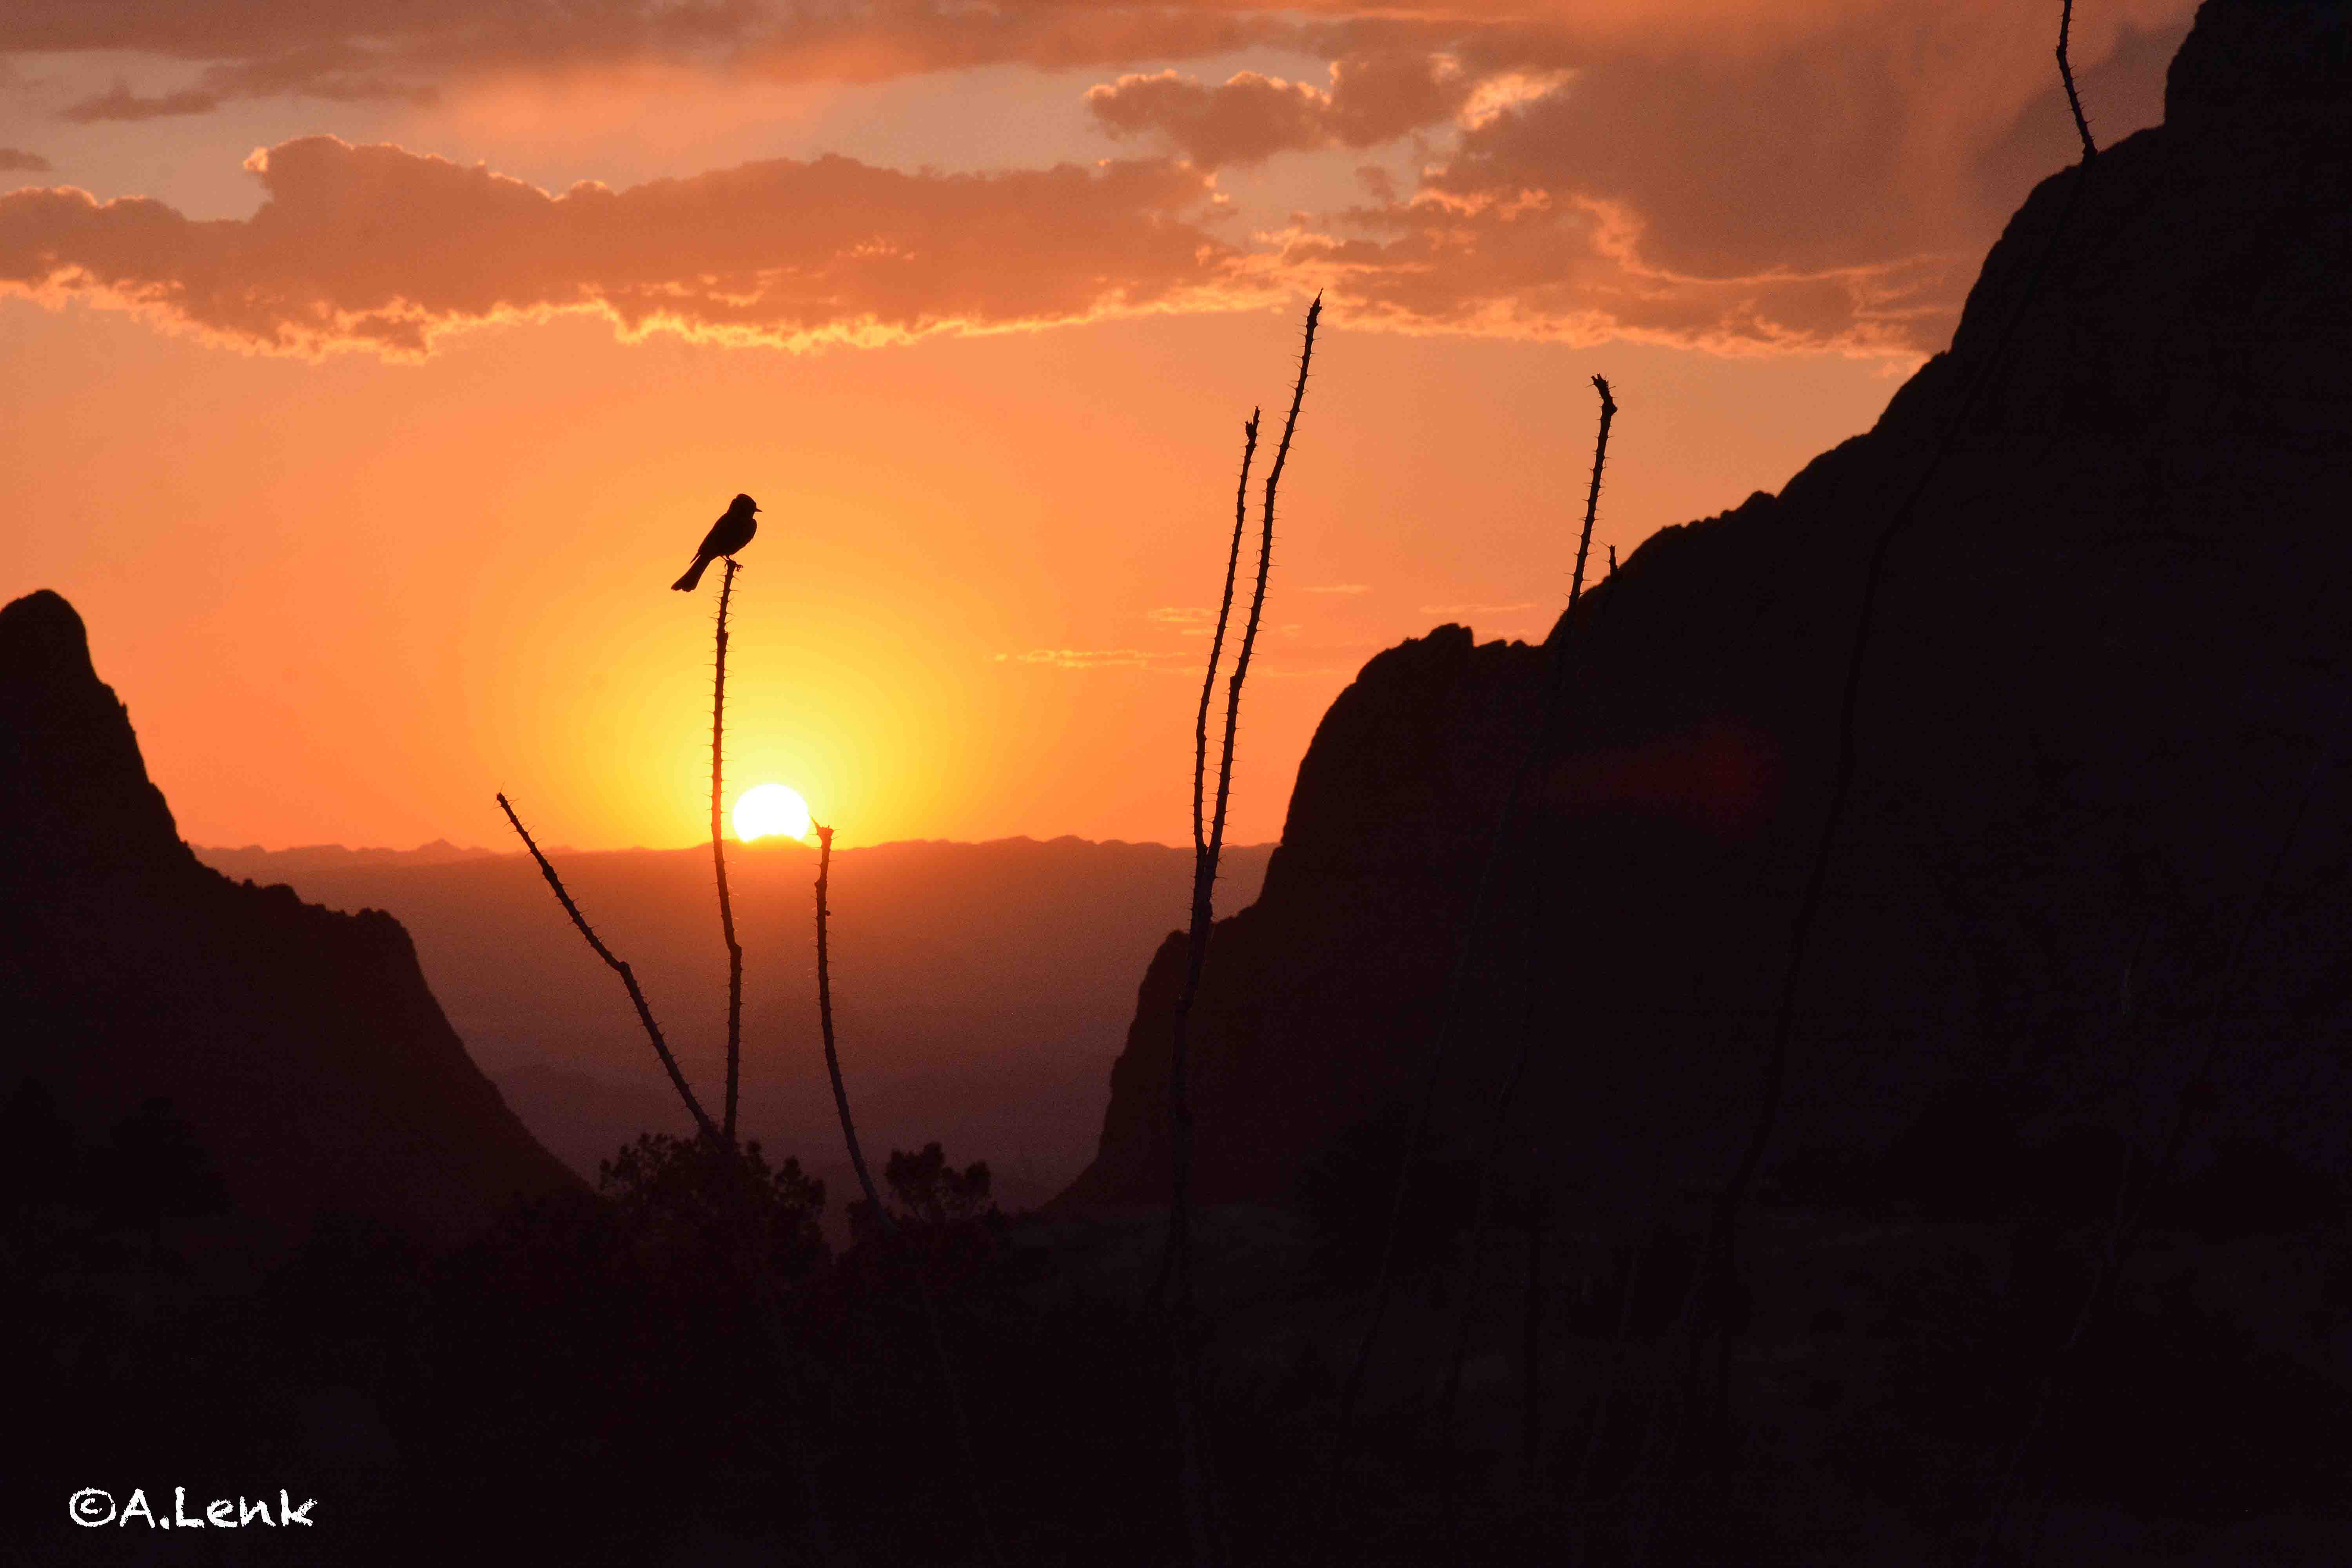
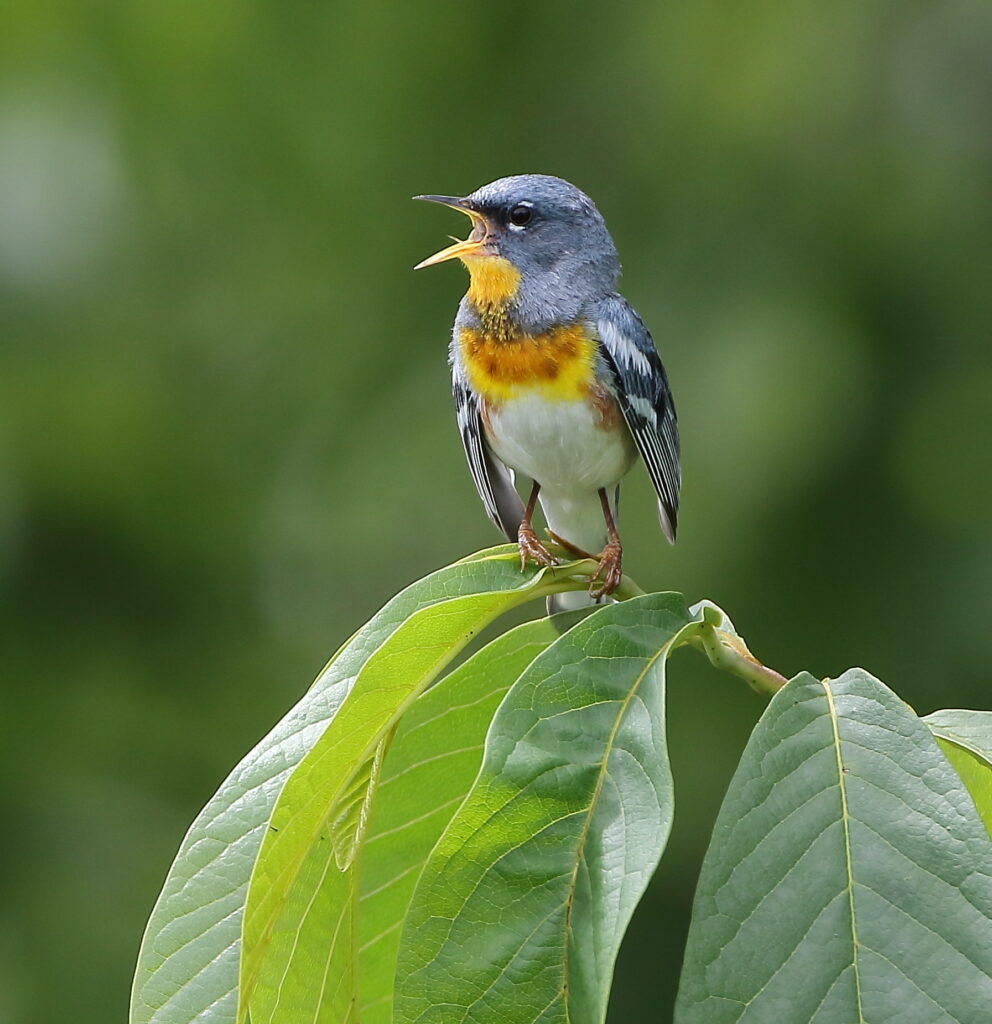
Nikon D500, 350mm, f/7.1, 1/4000 sec., ISO 4000
• My favorite weather conditions for bird photography is a light overcast sky. Light is even on the bird with no harsh shadows or bright sunlight. Early morning or late afternoon before/after bright sunlight is good as well. Although I like sunshine and blue skies, late morning bright sun makes getting good birds shots much more difficult.
• Invest in a photo editing program you like. It does not have to be expensive. I mostly use Photoshop Elements and also Lightroom.
• Try to be aware of the background behind the bird. It can make a huge difference in the outcome. If a nice bird has a very busy background full of sticks and other distracting objects it really detracts. I realize that often you can’t control the background, but sometime if you take lots of photos you may get one with a pleasing background. This is the one I’d choose to keep and edit. Many editing programs have a way to blur the background and make the bird stand out.
• Try to get a photo of the bird doing something: eating, feeding, singing, flying, building or attending a nest, etc. This adds a lot of interest to the photo.
• I like for the bird to fill about 1/3 of the final image. Cropping is most always needed. Getting the bird perched in natural vegetation helps reveal where it hangs out. More distant views of the bird can also be effective showing its surroundings.
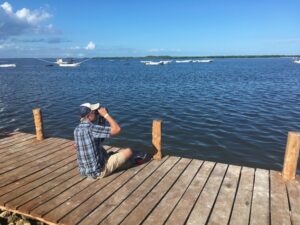
D7100, f/14, 80mm, f/14, 1/400 sec., ISO 100
An additional piece of equipment that I use is a flash unit on top of the camera. This is set to a low flash output and provides fill flash on the bird in low light conditions. Additional light on the bird evens out the light, and increases “hidden” color and makes feather texture and detail more apparent.
Above all, get out and have fun in nature,
Alan Lenk, Asheville, NC
Keith Watson
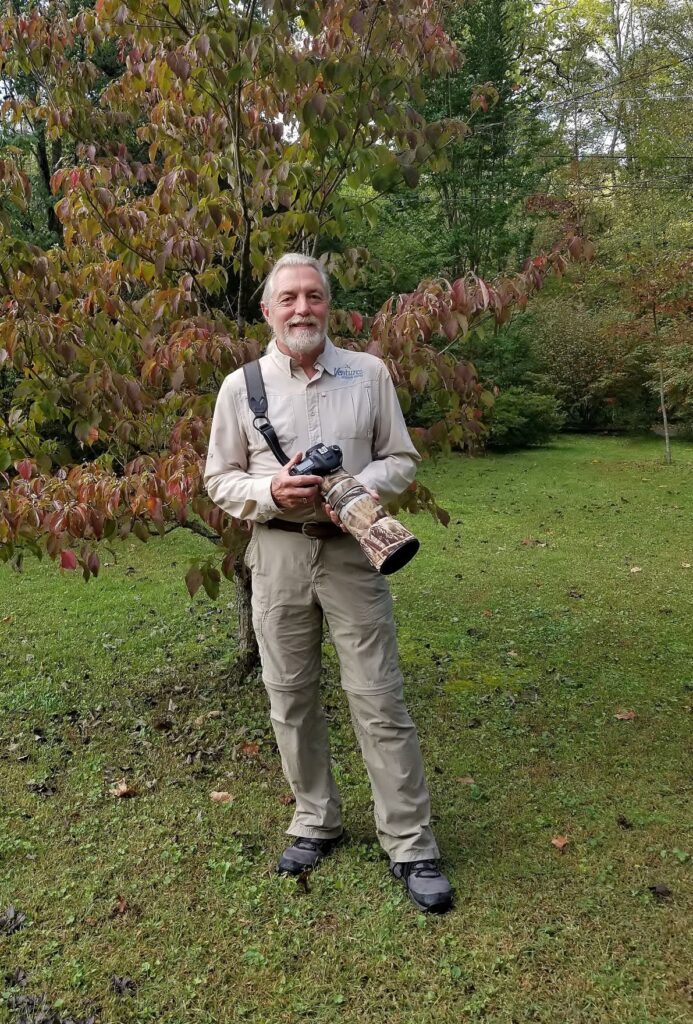
I use a Canon EOS 7D Mark II camera body with a Canon EF 100-400 mm f/4.5-5.6 IS II USM lens. This is the camera setup that most photographers used on a tour I made to India in 2019. Its versatile and yet not cumbersome to carry. Yes, it’s heavy but with the strap I use, its easily accessible even using my binoculars over top of the camera strap. I’ve had an interest in photography for many years but never felt I could afford the equipment to increase the quality of the photos being taken, but the India trip changed my mind! After seeing the photos the photographers were getting on this trip, I felt I had to take the plunge, and I am happy I did! This is a crop sensor camera which essentially means the sensor captures the image at approximately 60% greater than the focal distance being used; for instance when fully zoomed to 400mm, the actual image created is at 640mm!
Mode: Manual, Shutter Speed: 1/400 second, F Stop: 5.6, Focal Length: 400mm
Exposure Compensation: -1, ISO: 320 (Auto)
For most of my photography, I use the Manual settings, keeping the f-stop as low as it will go (4.5 or 5.6) which allows more light in to the sensor for better detail. I use a shutter speed of 1/400 of a second for most of my photography since I am shooting mostly still or slightly moving birds. I have the ISO set to Auto so that the camera can adjust for the amount of light in any given situation. The camera has an indicator light which flashes when light is too low for the shot, in which case I usually increase the Exposure Compensation up to allow more light to the sensor. Conversely in brighter light situations I either move the shutter speed down to 1/250 of a second or decrease the Exposure Compensation.

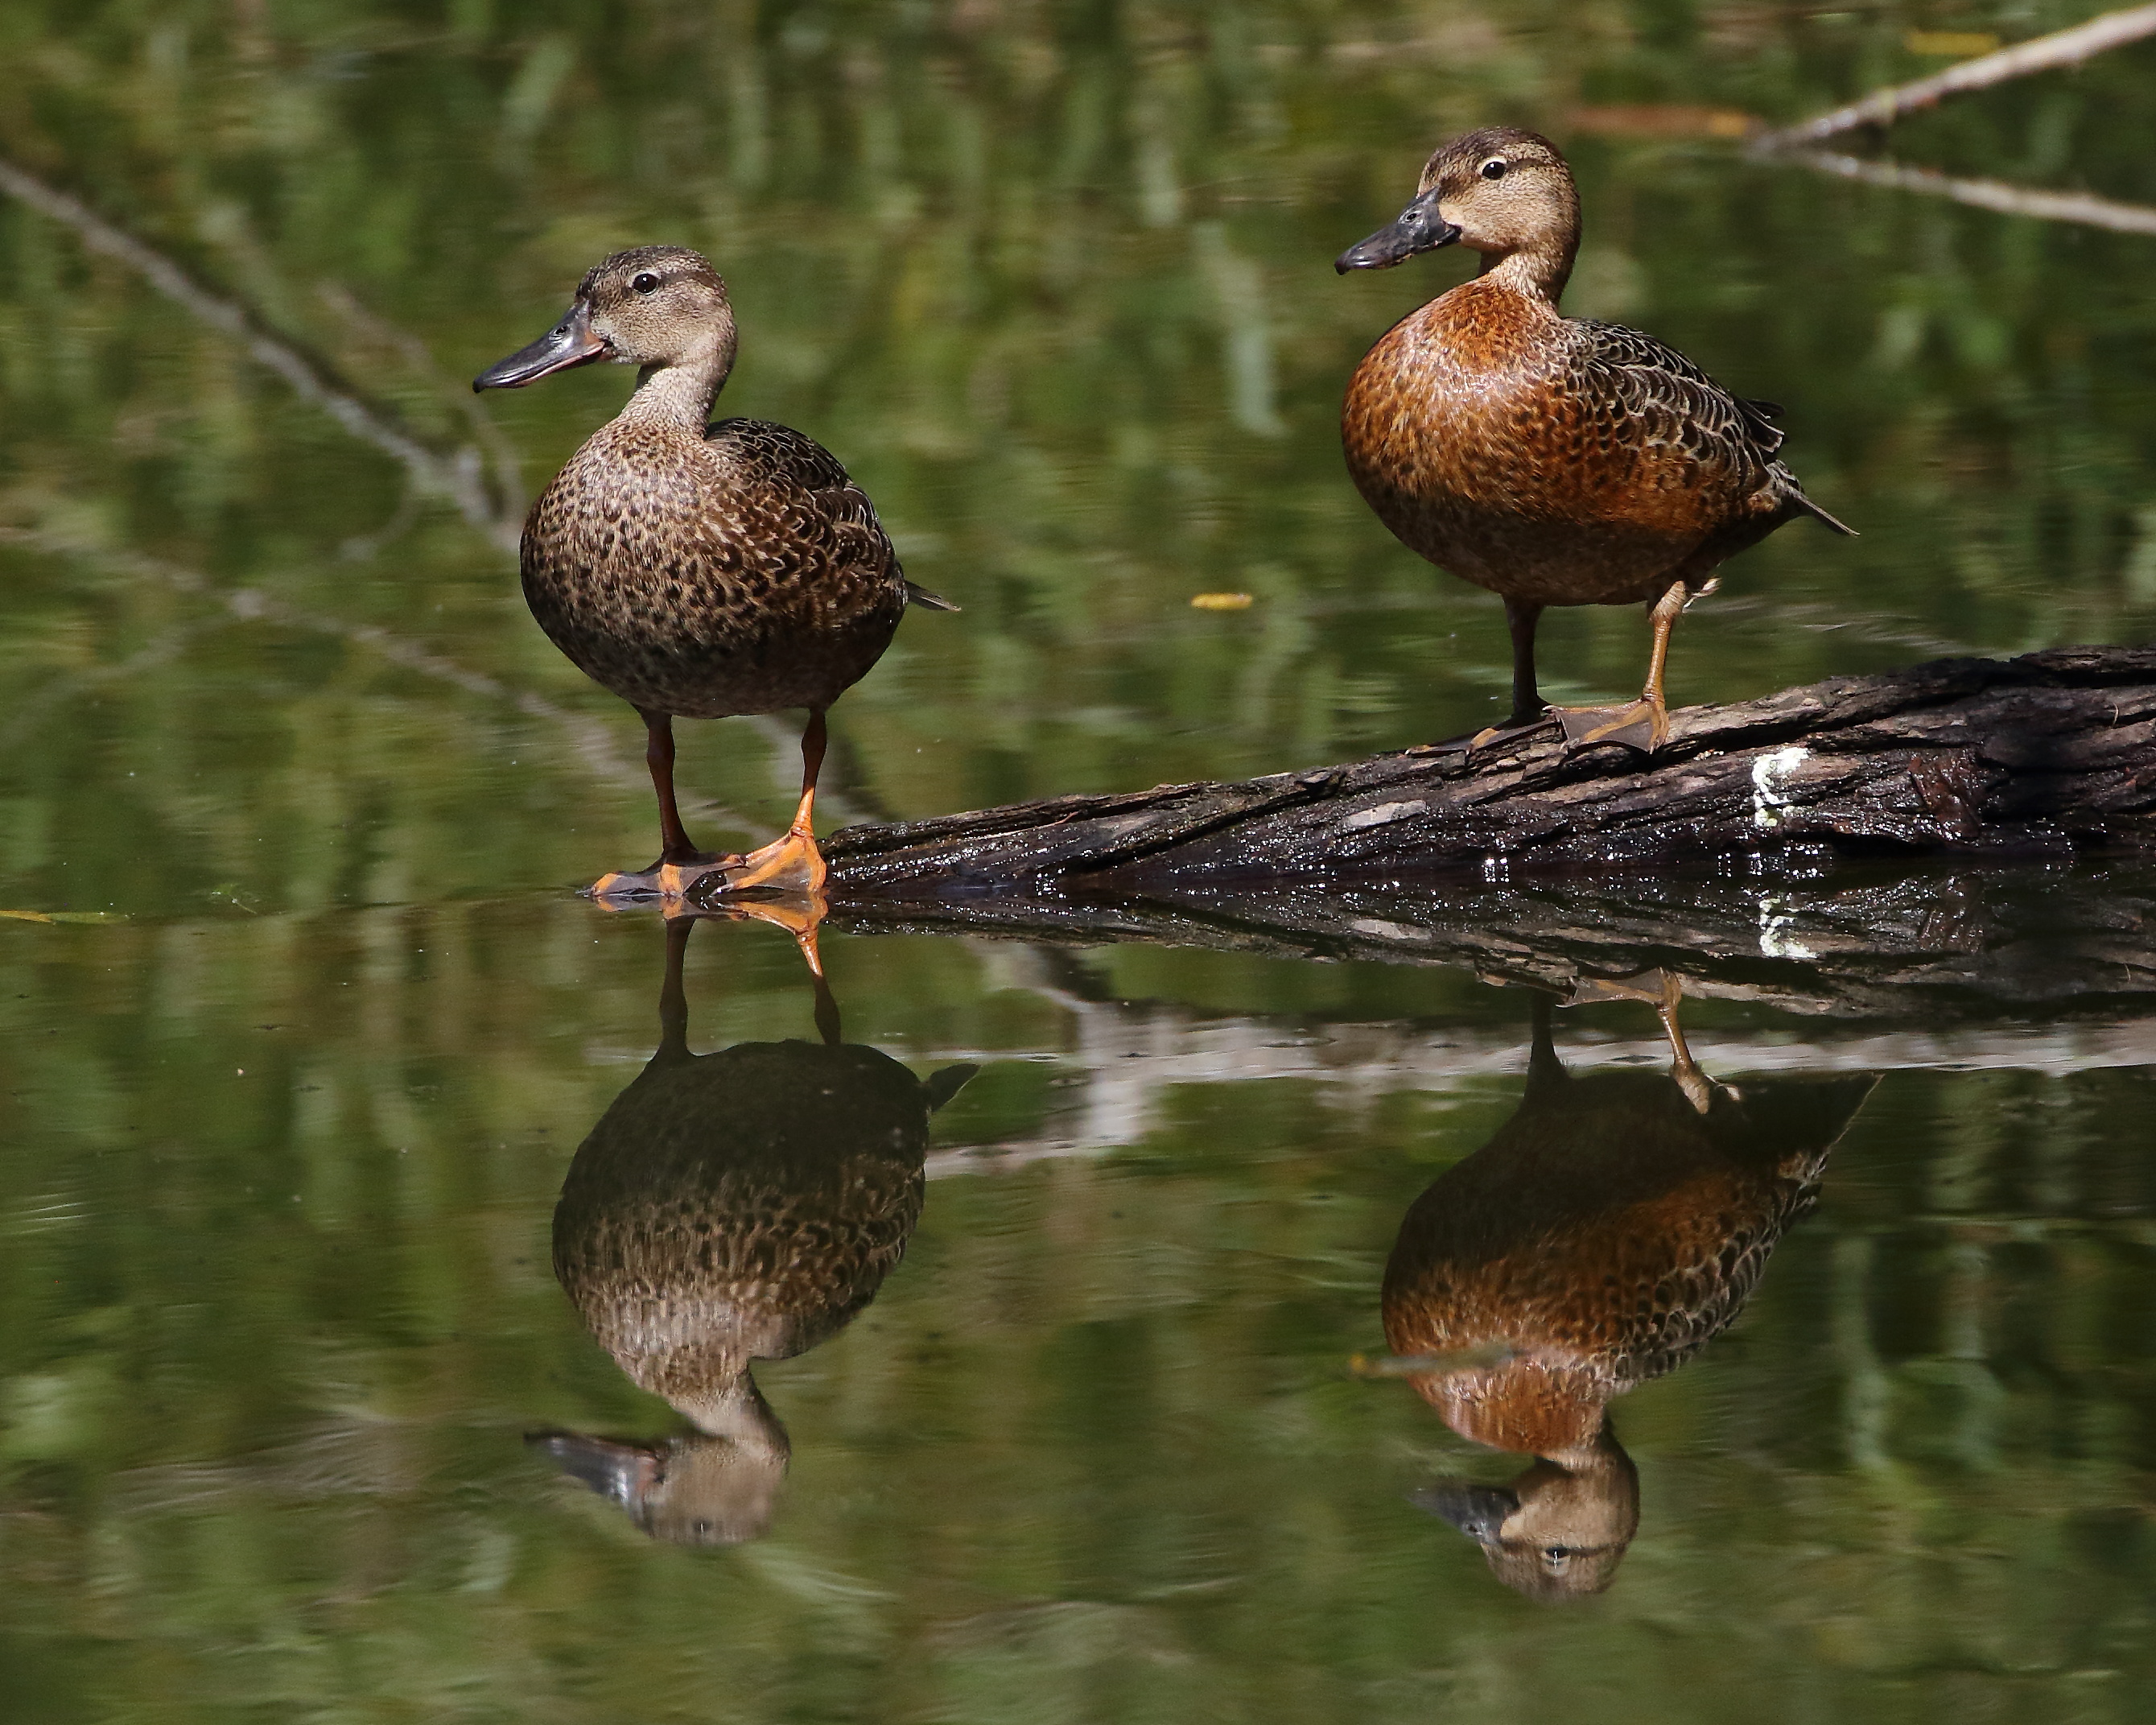
Mode: Shutter Speed, Shutter Speed: 1/4000 second (thinking they may take flight anytime)
F Stop: 5.6, Focal Length: 400mm, Exposure Compensation: -2/3, ISO: 800 (Auto)
When shooting moving targets like waterfowl in good light, I use Shutter Speed priority and set the shutter speed to 1/4000 (yes thousands of a second) to try and freeze the motion of the bird flight. As you can imagine, this isn’t always successful. It takes lots of experience and anticipation to capture and freeze in flight birds.
I have not yet tried to work with other modes of shooting as Manual and occasional Shutter Speed modes seem to capture what I am most looking for; a snap of the actual bird in its habitat and as natural as can be captured. I also shoot only in RAW image format for later processing with a photo editor. Shooting in RAW format allows you to edit more of the photo qualities than shooting in JPEG format. When you shoot in JPEG format, the camera converts the RAW image to JPEG and some of the photo qualities are minimized or lost and your editing capabilities are limited.
Mode: Manual, Shutter Speed: 1/400 second, F Stop: 5.6, Focal Length: 400mm
Exposure Compensation: +1/3, ISO: 250 (Auto)
Other important tips:
- Keep an extra charged camera battery handy!
- Make sure the SD card is in the camera and have an extra SD card.
- Take a test shot or two to see how the exposure might be adjusted before actually shooting in the environment you’re in. This changes frequently.
- Try to frame the photo as to highlight the bird’s behavior or habitat. To me trying to capture the bird in its natural element and behavior is paramount!
After taking photographs I use a minimal process to edit the photos with photo editing software. I do not use complicated software packages and currently only use the editing software provided by Canon with the camera. If I choose to upload the photos to Instagram, this platform has an excellent photo editor that can be used to further improve the quality and appeal of your photos. One of the most valuable features these high end Single Lens Reflex (SLR) cameras have is that you can choose to set the auto focus on a button on back of the camera where you hand is holding the camera and is independent of the shutter release. This “back button” focus allows you to keep this button continually depressed and the camera and lens maintain focus at all times. This provides for quick shooting and continual focus!
Keith Watson, Pittman Center, TN
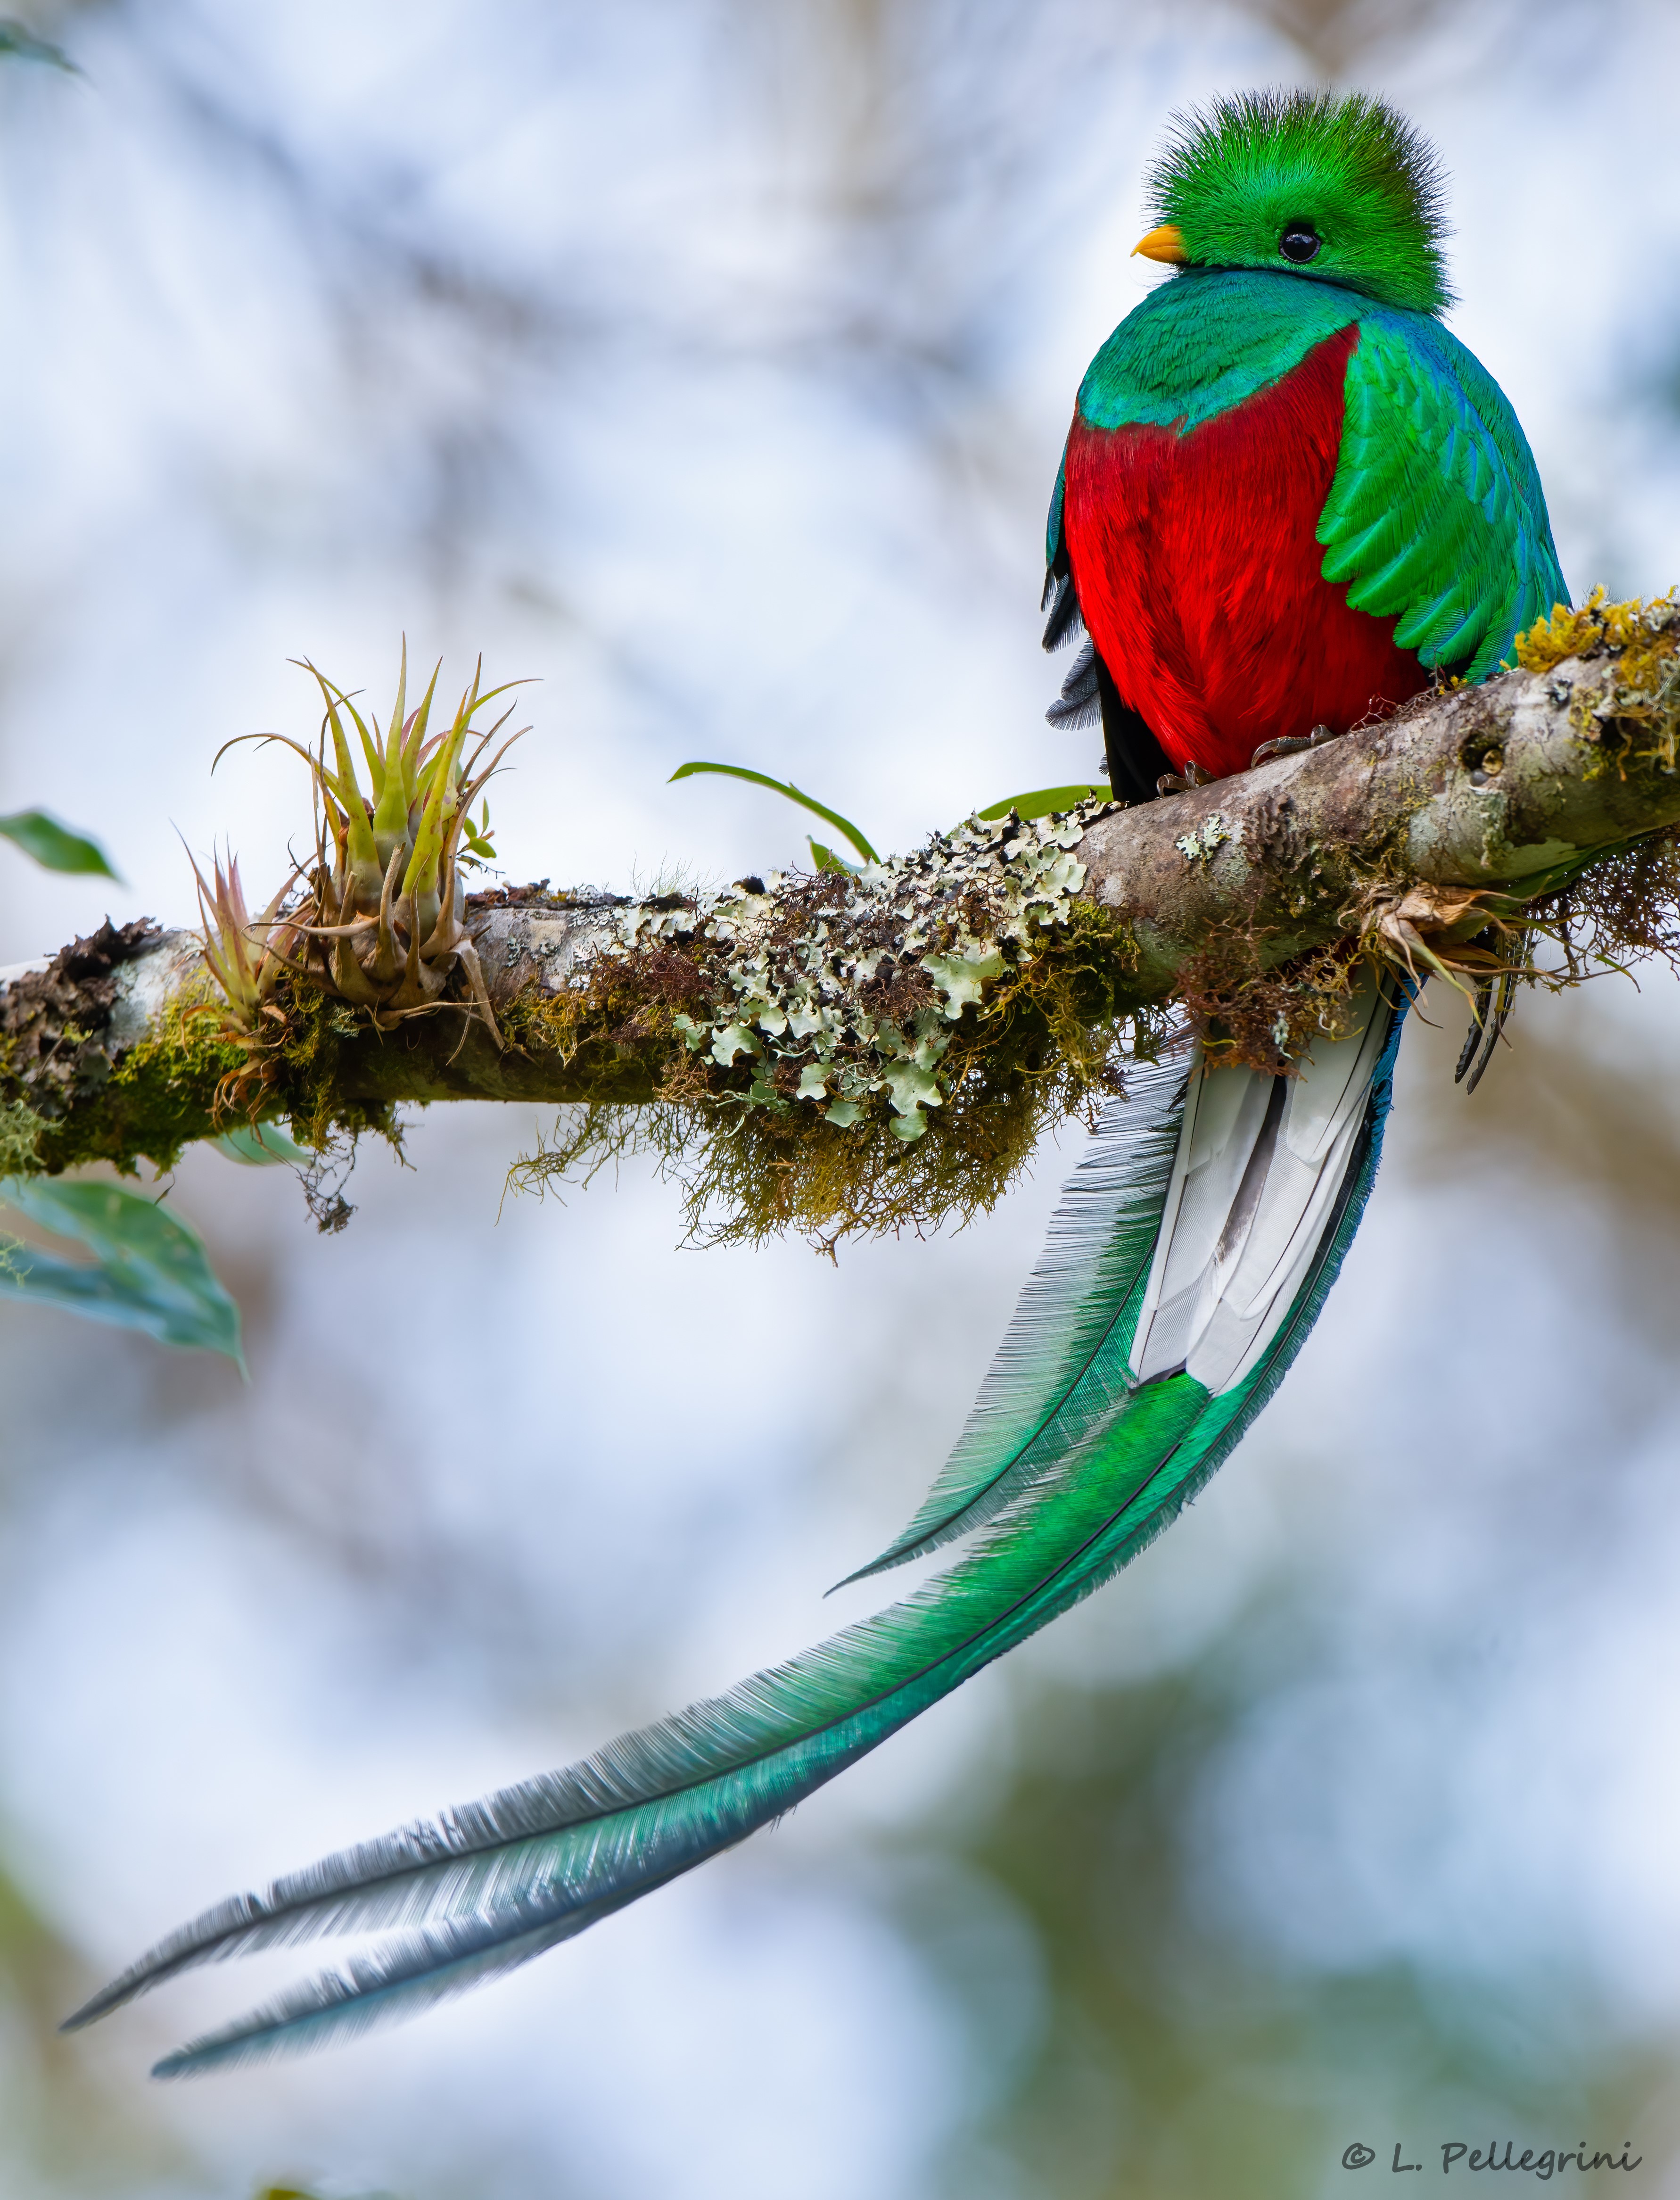
Larry Pellegrini
My wife, Nancy, and I started birding about 15 years ago when she took a Birding 101 class at the NC Arboretum with George Ellison. She came home excited, got me excited and soon we found ourselves on a bird walk at Jackson Park with Simon Thompson. That’s when the learning began.
I was not a real photographer – I had no equipment but a point-and-shoot – but something caught my interest. I Googled bird photography and the first site I opened was a gallery of bird photos by the famous Glenn Bartley of British Columbia on a solo trip he took to Bolivia. I couldn’t believe the beauty of the birds in Glenn’s photos. I decided that with experience and decent equipment this could become a hobby. I started carrying a camera when birding and before long I got a rare satisfying shot. Equipment wise, one thing led to another. I bought my first DSLR with a 300mm lens and made a couple of day trips with Todd Arcos, an excellent Henderson County photographer.
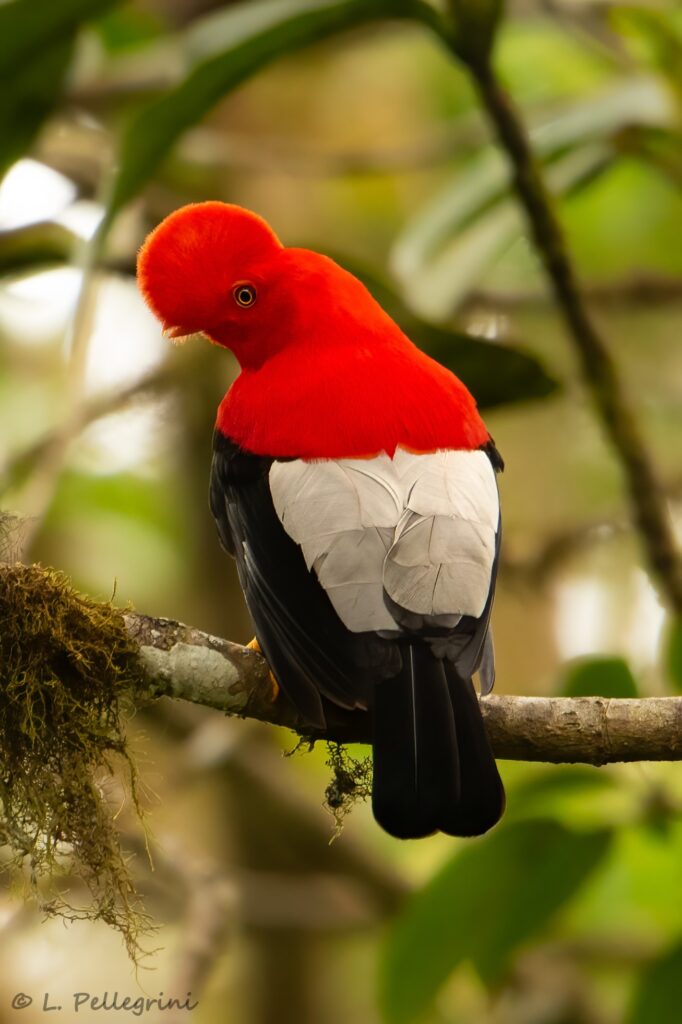
Nikon D810, 500mm f/4, 1/200 sec, 700mm, f/5.6, 1250 ISO
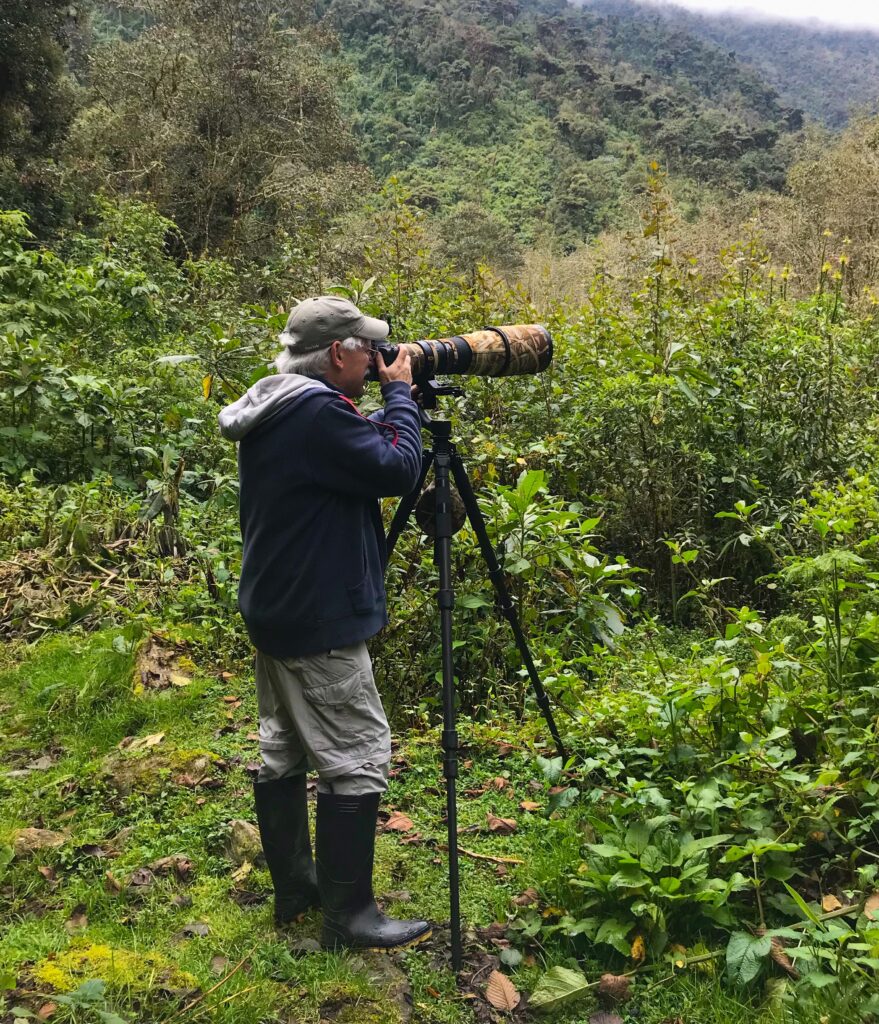
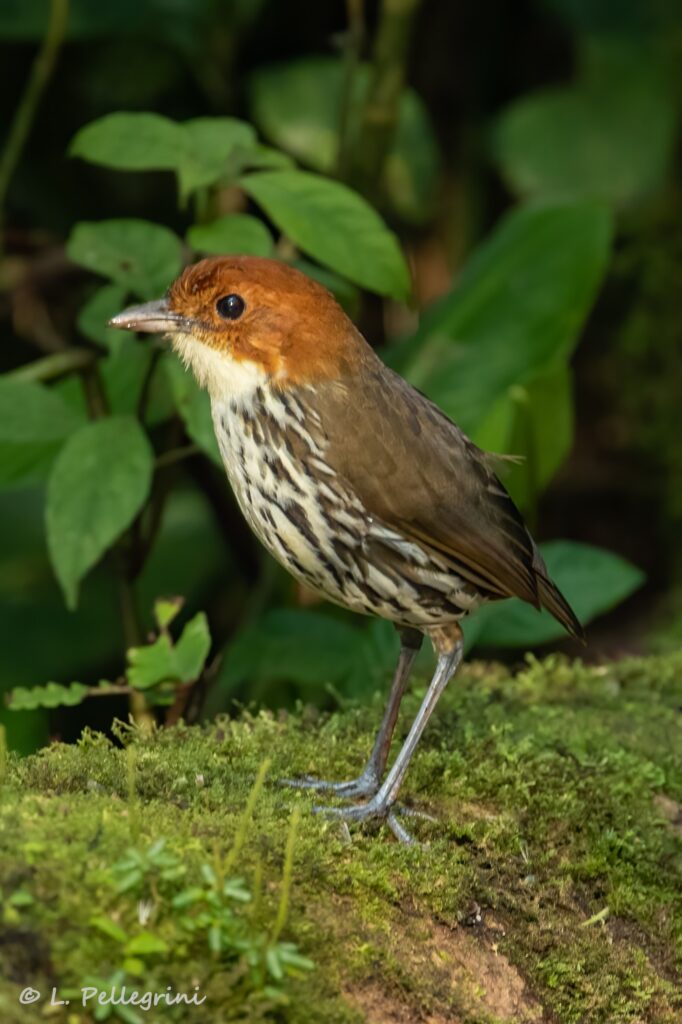
In 2011 we took our first birding trip to Central America where we met Diego Quesada, one of the leading guides and birders in Costa Rica. In 2012, we traveled to Panama with Simon Thompson. There an event took place that was instrumental to my photography. We were hiking the famous Pipeline Road when we ran into a guy who was carrying the gear of a serious photographer – tripod, gimble, and a very large lens. We chatted a bit and soon I was carrying a tripod, gimble and 500mm f/4 lens over my shoulder. I spent the next 8 years hauling this equipment, with various updates to the camera body.
Nikon 7100, 500mm f/4, 1/250 sec, f/5.6, 400 ISO
Tips: I believe the most important things for a bird photographer to consider are opportunity and experience. You must get out and find the birds to photograph (opportunity) and you should do it often (experience).
Nikon D810, 300mm f/4, 1/50 sec, f/5.6, 1600 ISO
Equipment: Canon or Nikon – you can’t go wrong with either. I use Nikon. I now own the mirrorless Nikon Z 7II body. I’m very happy with it – great field body; light, sharp, fast and easy to use. Today, my lens of choice is the Nikon PF 500mm f/5.6. It is LIGHT, sharp and fast. About 2 years ago I took a nasty fall carrying over 20 lbs. of camera equipment: body, tripod, gimble and 500mm f/4 lens. While lying there on my back I realized I was much too old to be carrying so much weight on trails. I made the switch to my much lighter lens (Nikon PF 500mm f/5.6), replaced the tripod with a monopod and the gimble with a ball head.
Software: Post work is very important to me. I use Lightroom for all my post work and jump into Photoshop when needed.
Larry Pellegrini, Flat Rock, NC